Ask the U.S. National Archives how to display a treasured family photo and the answer is, more or less, don’t.
Its guidance says the best protection from light is to hang a copy and keep the original in a box.
That sounds like bad news if you’ve been dreaming of a hallway full of ancestors. It’s the opposite. It’s how you hang every great-grandparent you have without slowly erasing any of them.
And the wall is only one of seven surprises. One of them is hiding in the photo album somebody in your family bought around 1978.
1. The Best Photo to Hang Is a Copy
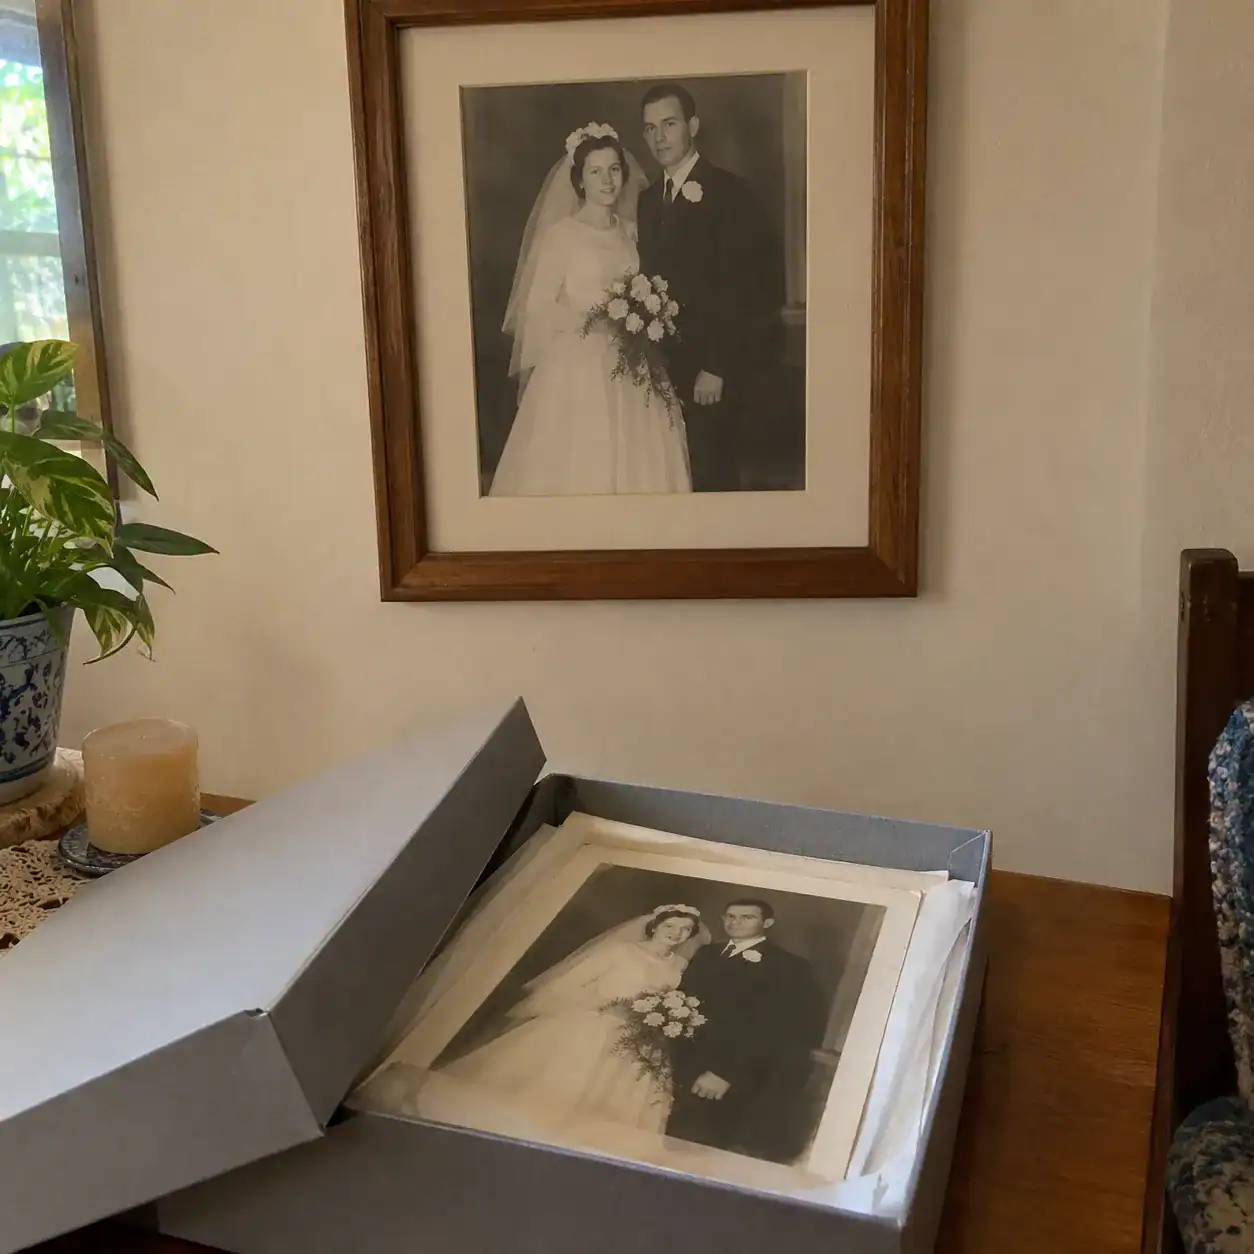
Light changes photographs. The National Archives says exposure to all light, visible and ultraviolet, can cause fading, darkening and other changes.
The Library of Congress adds the part that stings: light damage is permanent, and in most cases conservation treatment can’t reverse it.
So the Library doesn’t recommend long-term display of paper originals at all. It suggests a framed reproduction instead.
The Canadian Conservation Institute is blunter about color pictures. Its advice is to keep valuable originals off display and use copy prints.
A flatbed photo scanner makes that copy without bending the print.
Here’s the part to love. From the sofa, a good copy of a wedding portrait looks just like the real one. The original stays in its box, and you get permission to hang the whole family.
2. Dim Light Does the Same Damage as Sunlight, Just Slower
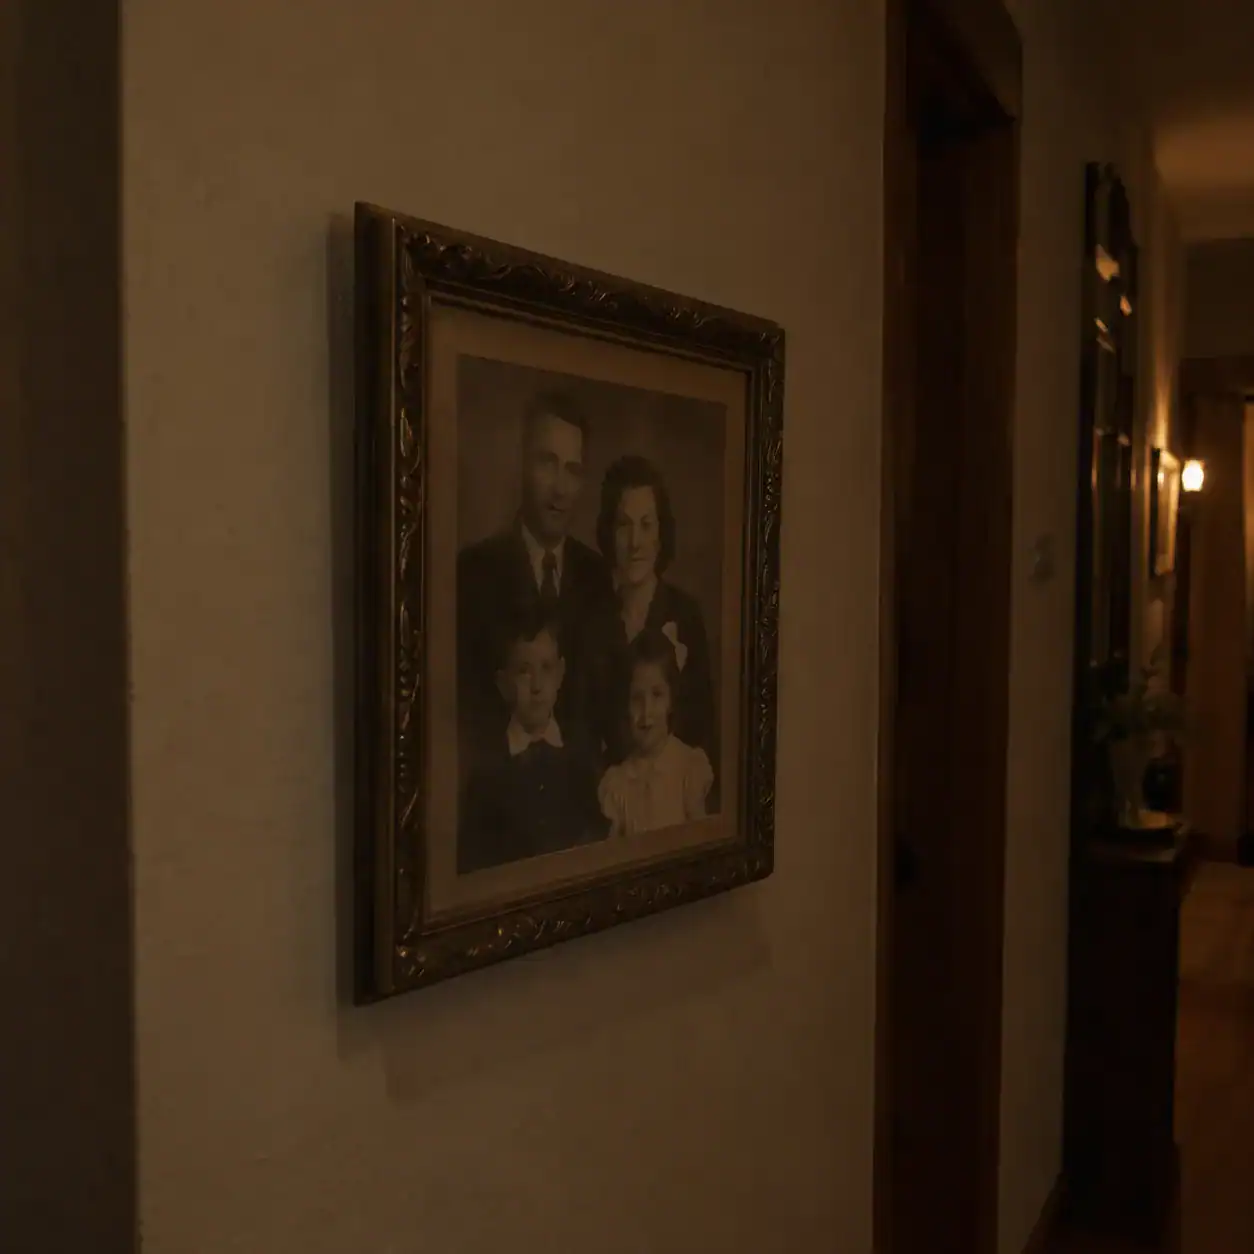
You’d think a photo in a shady hallway is safe. Not quite.
The Library of Congress says light damage adds up, so dim light over a long time is just as damaging as bright light over a short time.
How seriously does the Library take that? Its most light-sensitive items, a group that includes hand-colored photographs and all color photographic processes, get a maximum of 3 foot-candles of light.
They go on display for 3 to 5 months at most, then spend at least 3 years in the dark before they come out again.
That’s a rule for a national institution, not your living room. But the idea travels. Every hour on the wall is a small withdrawal from an account nobody can refill.
If an original does go up, the National Archives recommends ultraviolet-filtering glass or acrylic. It helps. It doesn’t stop ordinary visible light from doing its slow work.
3. Your 1970s Color Snapshots May Be Fading in the Dark
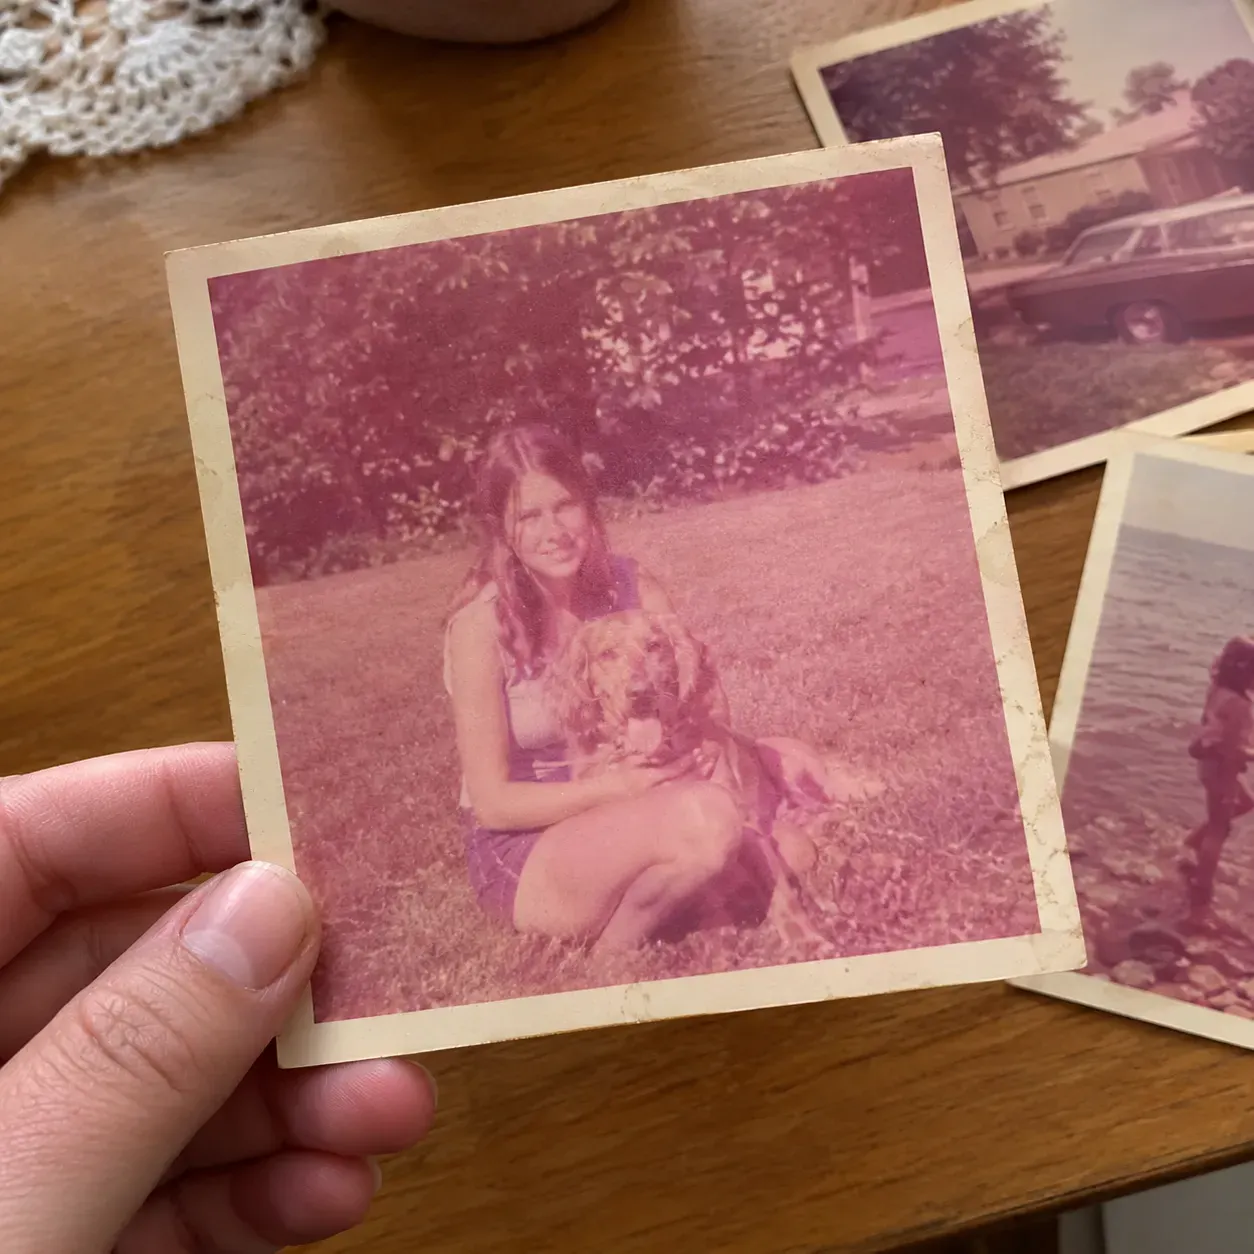
The Canadian Conservation Institute notes that the dyes in color photographs appear to be the only materials in any visual art medium that fade appreciably in the dark. No light required.
It’s why so many old color prints have turned pinkish. According to the Image Permanence Institute’s Graphics Atlas, the cyan dye tends to fade in the dark, which leaves the whole print magenta.
The earliest color prints, made from 1942 to the mid-1950s, have very poor dye stability and show extreme yellowing. Prints had improved significantly by the 1980s.
Heat is the driver. The Library of Congress calls temperature the controlling factor for color photographs, which is why institutions store theirs cold. (That takes controlled conditions, not a kitchen freezer.)
Meanwhile, the Canadian Conservation Institute says no data have been gathered showing that daguerreotypes, ambrotypes or tintypes are unstable in light. So a color snapshot from 1975 can be more chemically fragile than a tintype from 1865.
4. The Glass Should Never Touch the Photo
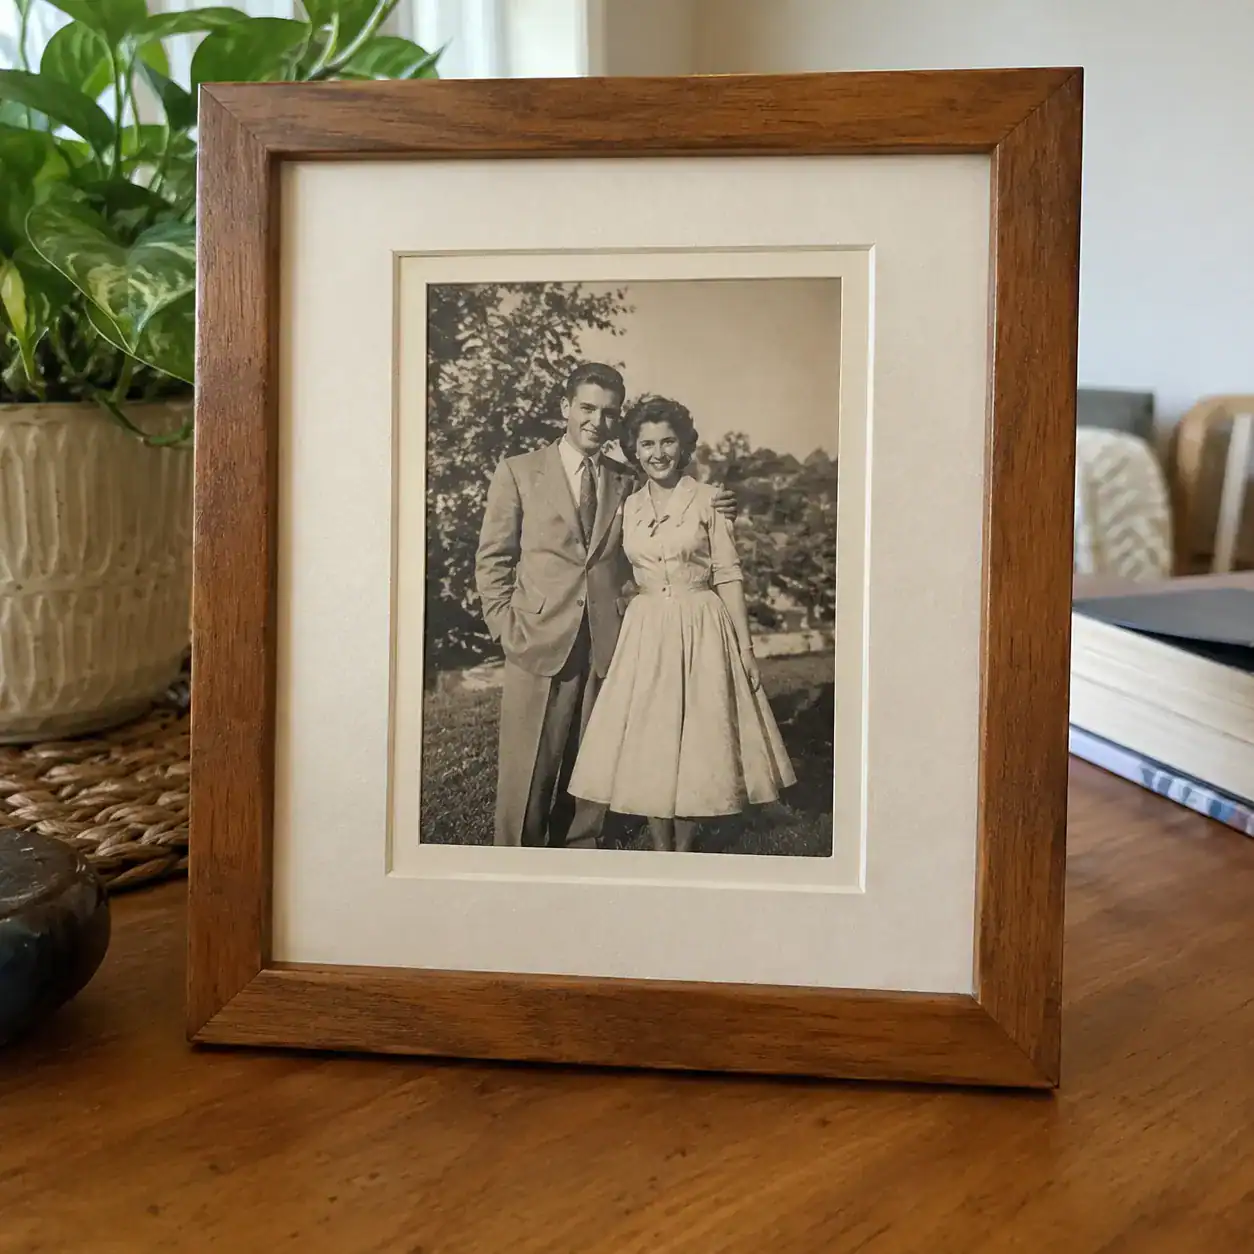
Picture the portrait that has sat in the same dime-store frame since 1962. If it’s pressed right up against the glass, it’s in trouble.
The National Archives and the Library of Congress both say the glass shouldn’t touch the surface of an original.
The Canadian Conservation Institute gives the reason. Moisture can build up, and the print and the glass stick together.
The recommended fix is a window mat or spacers to hold the photo back from the glass.
The mat is acid-free cotton, and small paper or mounting corners keep the photo in place. No glue, no tape.
And if a photo is already stuck? Don’t pull. Leave it where it is, scan or photograph it through the glass, and ask a conservator about the rest.
5. The Mantel Is the Worst Wall in the House

The spot above the fireplace is the traditional place of honor. It’s also on the Library of Congress list of places to avoid.
Framed items belong away from working fireplaces, radiators and vents, out of direct sunlight, and on interior walls.
What photos want, by the Library’s account, is somewhere relatively dry, cool and stable, 70°F or below. The National Archives warns against damp basements, garages and hot attics.
Put simply, photos are comfortable where people are comfortable. An interior hallway beats the mantel, and a closet shelf in the lived-in part of the house beats the attic trunk.
If your gallery wall has candles, the same thinking about heat applies. Let them flicker beside the copies.
6. The “Magnetic” Album Was Never Magnetic
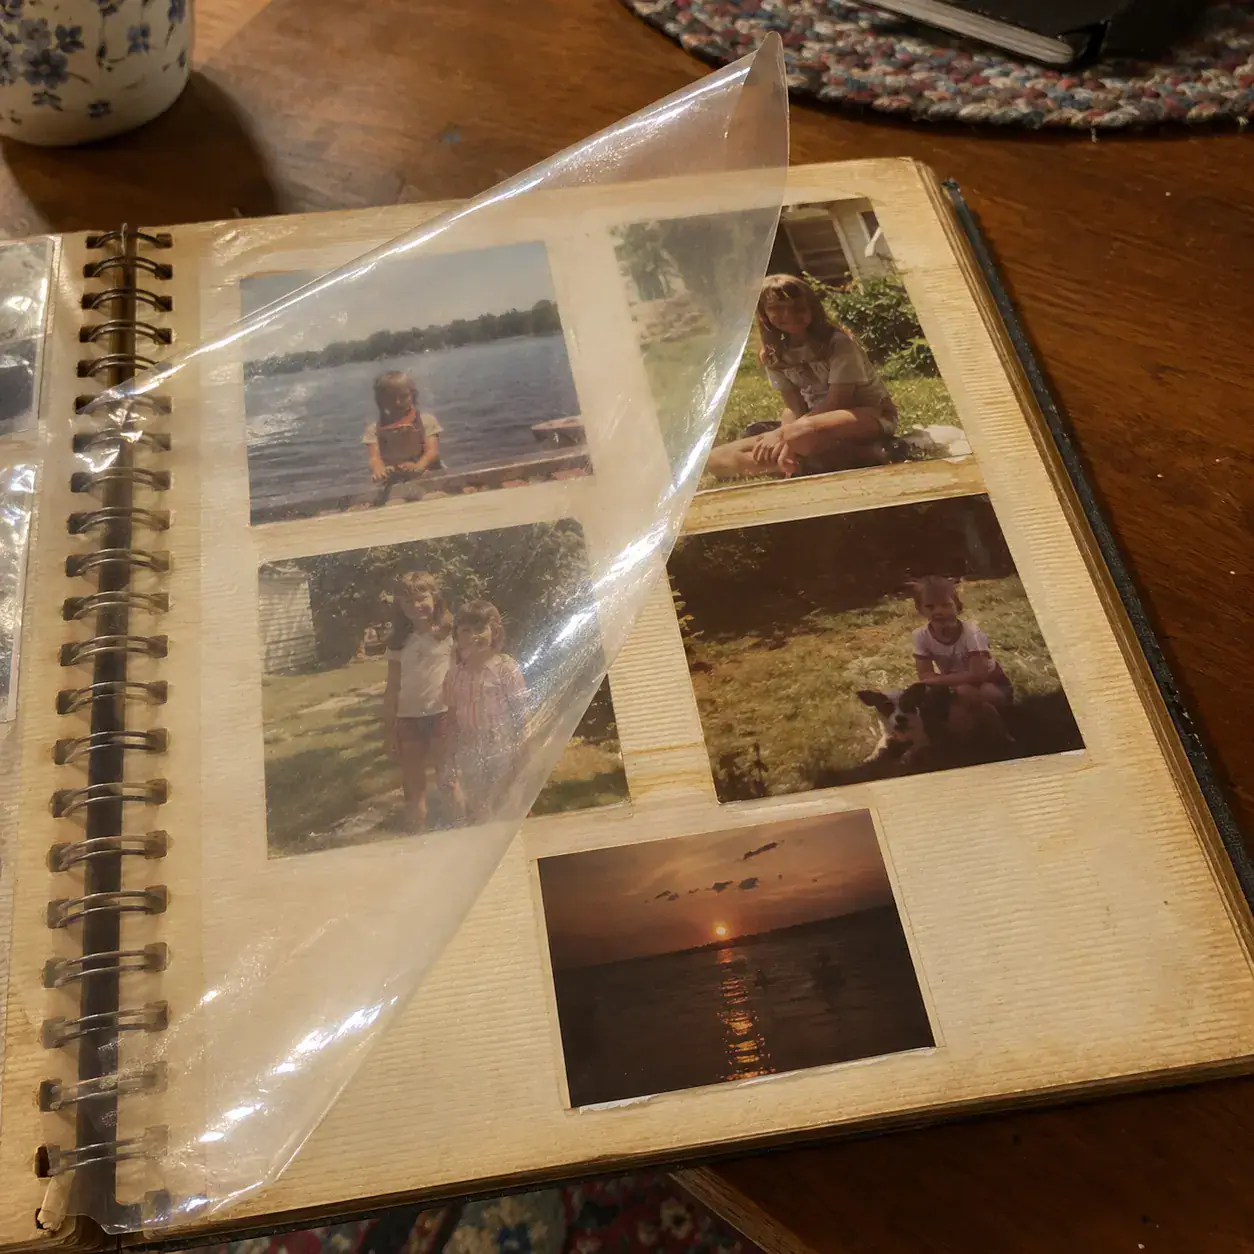
Remember the albums with the sticky pages and the peel-back plastic sheet? They were popular in the 1970s and ’80s, and there isn’t a magnet anywhere in them. Adhesive holds the photos down.
The Library of Congress and the National Archives both say to avoid them. A UNC Greensboro archives post about women veterans’ scrapbooks explains why.
The cheap cardboard pages, the adhesive and the plastic covering all give off acids that hurt the photos’ color over time, stain the backs, and make the photos hard to remove without damage.
Sometimes the photos fuse to the page. So don’t start peeling. Photograph each page first, so the layout and the captions are saved, and get help with anything that won’t lift easily.
Photos that do come free can move into an album with acid-free, PVC-free pockets.
7. The Most Powerful Preservation Tool Is a Pencil
A photo can survive in perfect condition and still be lost.
An unlabeled portrait can become a stranger within a generation or two, once the last person who knew the face is gone.
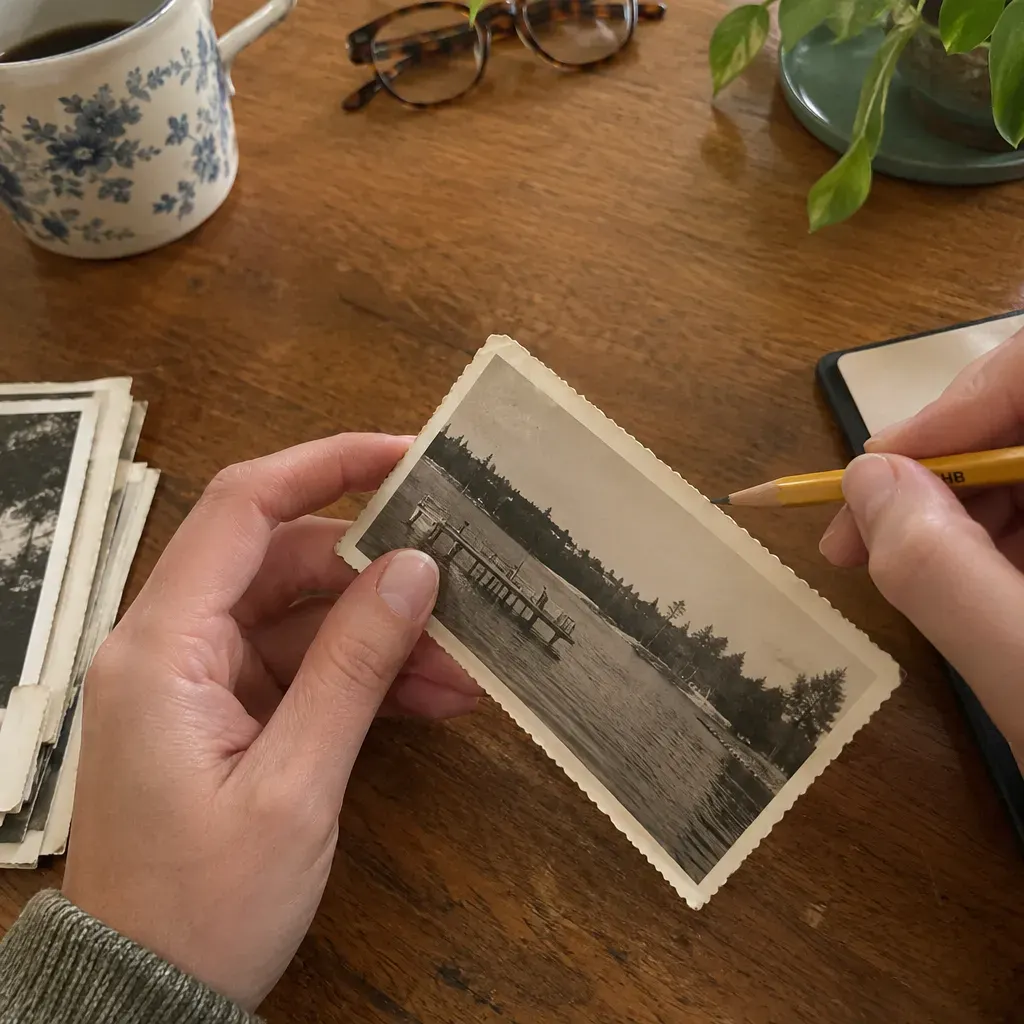
The Canadian Conservation Institute’s method for labeling a black-and-white print is almost comically simple.
Write on the back, as close to the edge as possible, with an HB pencil. The Library of Congress rules out the shortcuts: no sticky notes, no tape, no paper clips, no rubber bands.
Hold a paper print by its edges with clean, dry hands, and stay off the image. Gloves are worth considering for the metal and glass ones.
A Photo Survives Twice
Every family photo survives twice, once as an object and once as a story. The box protects the object. Only you can protect the story.
So hang the copies and box the originals. Then, tonight, pick one ancestor portrait, turn it over, and pencil a name on the back.